Clutter Me Not
Follow us!
  • Home
  • Conversation Blog
  • About Us
    • Contact Us
  • Photo Gallery
  • Shop
    • Organizing PDFs
    • Desktop Accessories
    • Sticky Notes
    • File Folders

The Planting of the Garlic

3/13/2013

0 Comments

 
Picture
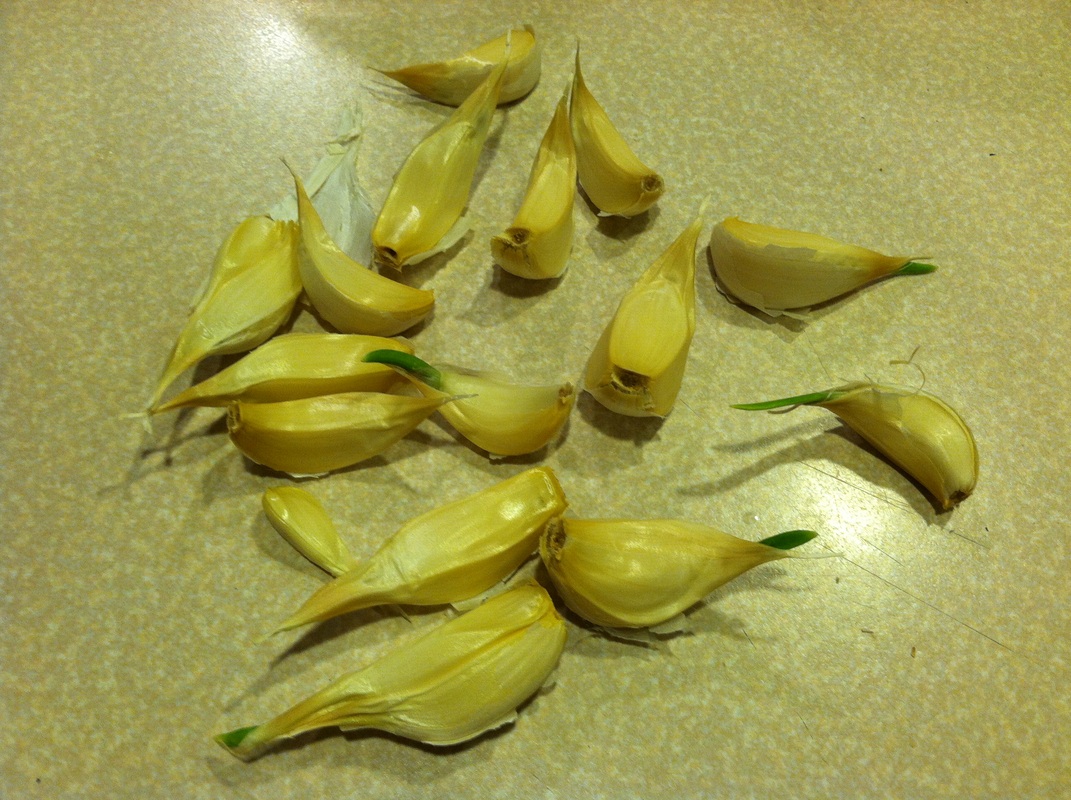
First, I took to the garlic apart to separate it into individual cloves. when you plant them, put make sure to plant with the pointy ends up. 

Picture
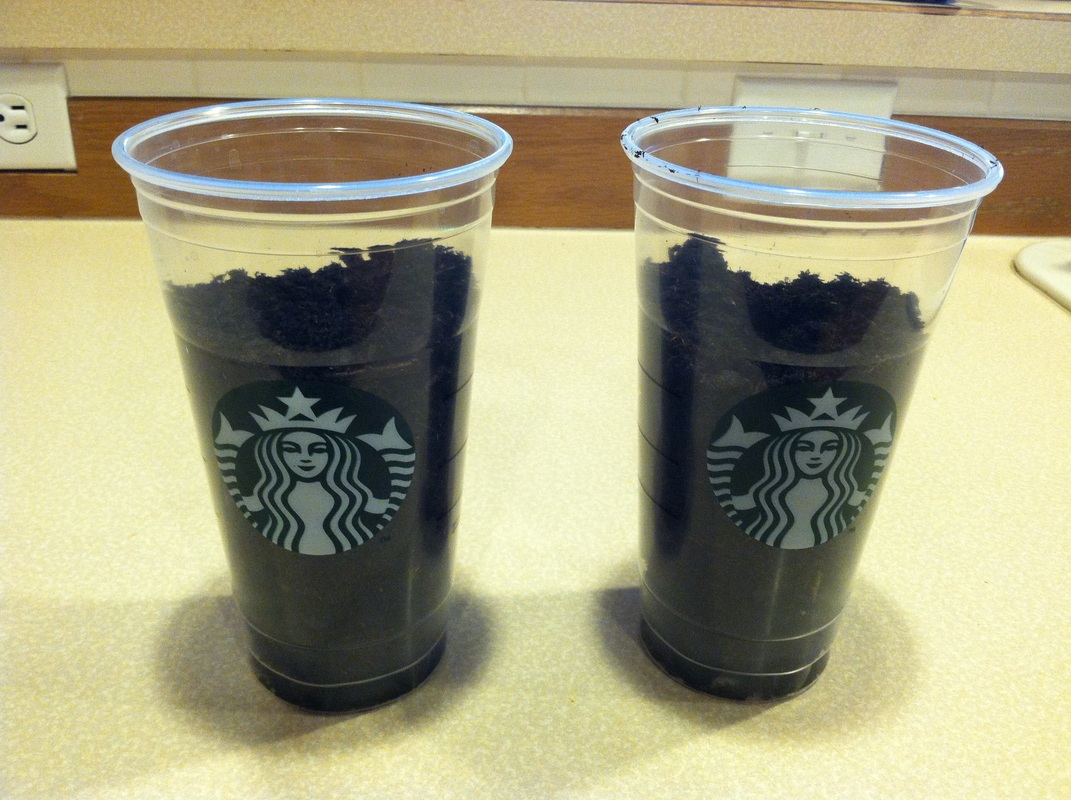
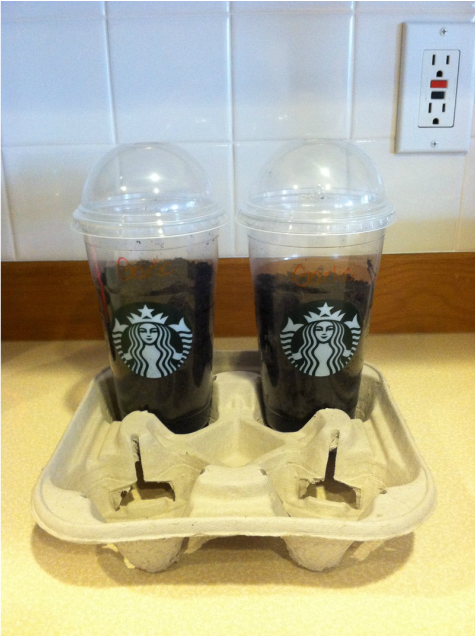
Next, get your containers ready! I decided to use my husbands addiction to help us grow things ;-) Yup, coffee cups! If you would like to do this too, poke little holes in the bottom for drainage BEFORE you put the potting soil in. We used Organic potting soil which you can get at your local home improvement store. Do not pack the potting soil in too much. You want to make sure it is loose when planting garlic.

Picture
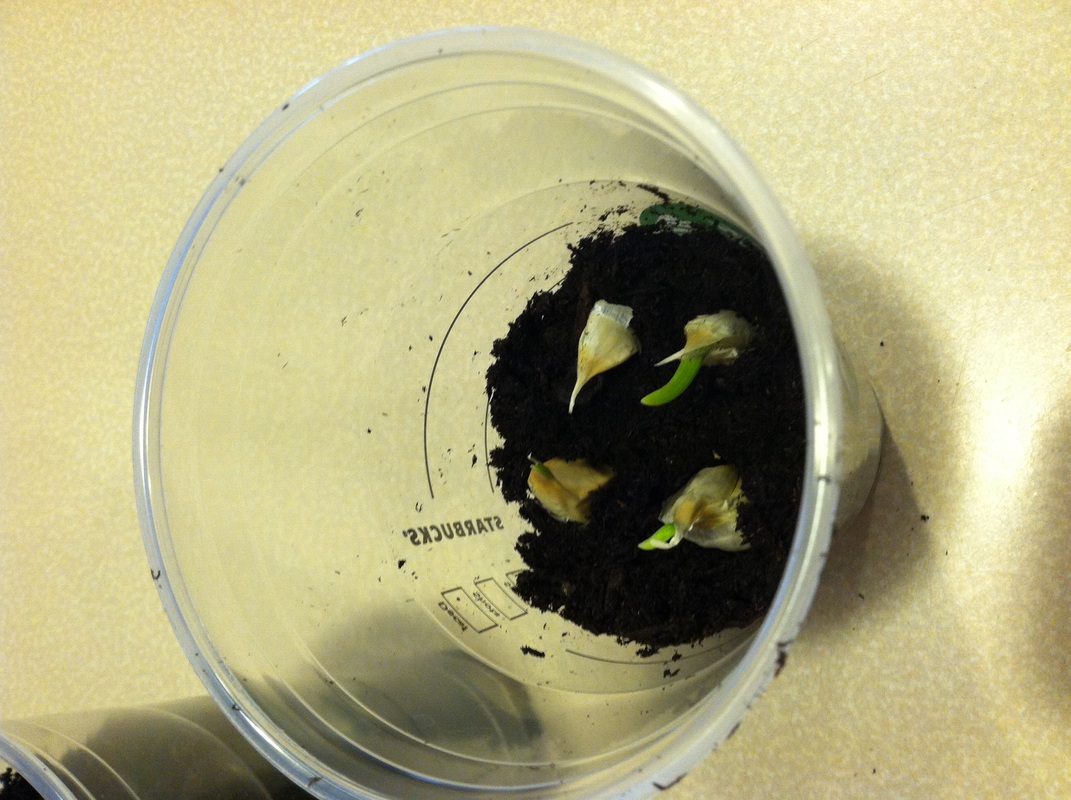
Plant the cloves pointy side up and fairly close together but not touching! Since we are planting these inside, we will be eating the sprouts but not actually growing a garlic bulb. In order to grow the actual bulb, they need to be planted outside and further apart.

Picture
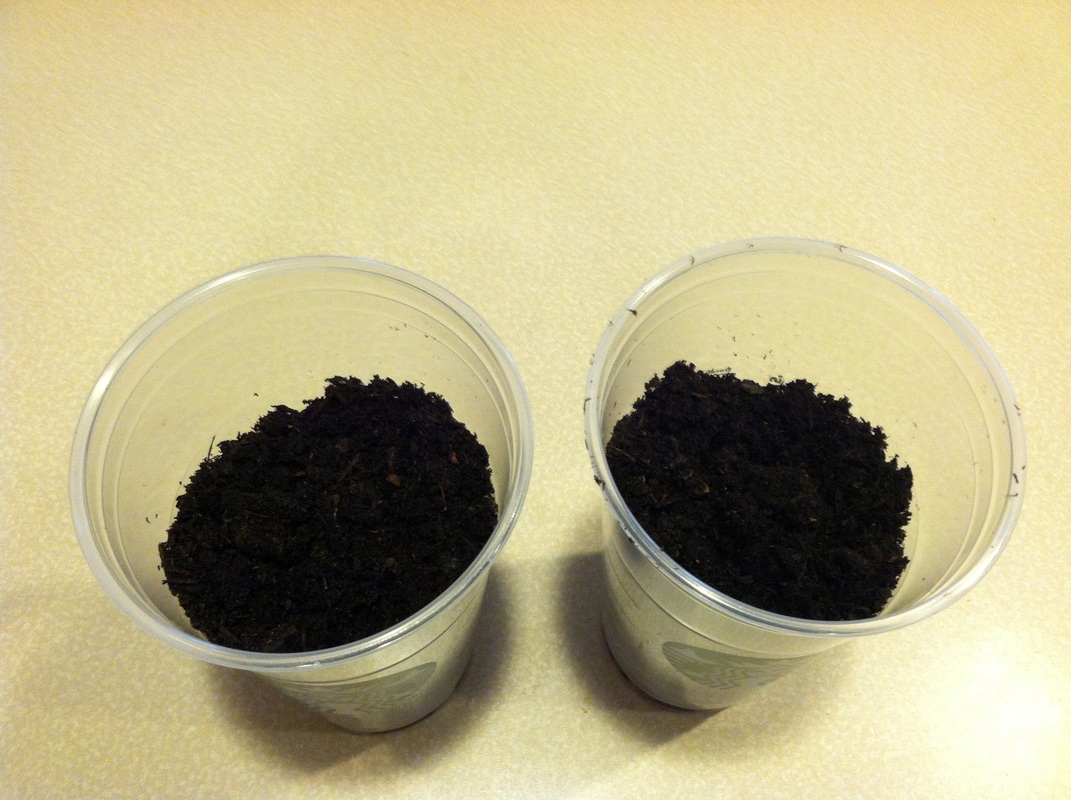
Cover with more potting soil until they are covered by about a half inch to an inch of soil. Water until it starts to drip out the bottom holes.

Picture
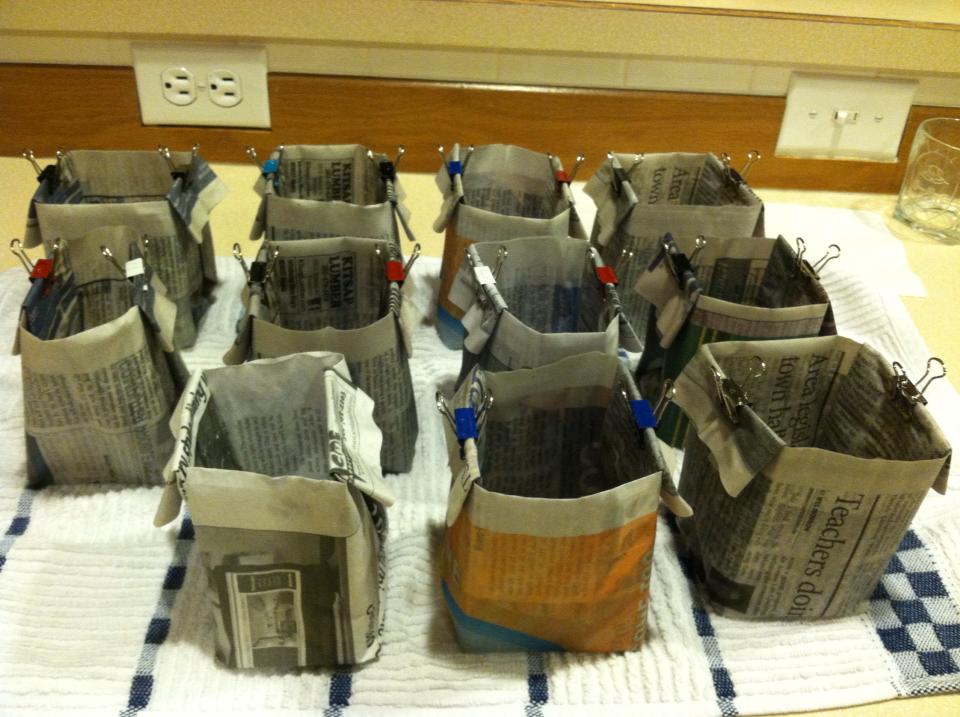
Since we have cats who Love to eat plants, we decided these would be great as our own little greenhouses! They can still breath and get the much needed sunlight. Label them and put them in their perfect spot in your home!


                            All Done!! Ta-Da!!


Picture
0 Comments

It's time to plant my garlic!

3/12/2013

0 Comments

 
Picture
Next up, Garlic!!! I'm using just a regular bulb of organic garlic I bought at the grocery store. I had it in my pantry long enough that it already started to grow. Oops! Time to plant it! Tune in tomorrow to see the delicious pots we are going to use to grow them inside!

0 Comments

Newspaper Start Pots

3/12/2013

0 Comments

 
Picture
These were super easy to make and cost me $0 and not much time.  On Friday mornings we receive the "throw paper" (the local freebie one) which I used for this project. Where I will be saving time is in the transplanting process. The newspaper pots can be planted directly in the ground!! How awesome is that? To keep in line with the organic growing process, my friend told me a great secret. Right before you are ready to plant your seeds, boil some eggs. Use the same water you just boiled the eggs in (after it cools!!) to water the seeds. After boiling your eggs, the water has collected some of the nutrients from the shells and it happens to be a great fertilizer! I don't think you can get much more organic than that!  Click here to see my tutorial on how to make these awesome pots! (Tutorial to come, still working on that)


Picture
I filled the pots about 3/4 of the way full and made sure
 the dirt was packed down real well. For most of the seeds, you can plant two per pot (in opposite corners). Make sure to set pots in something that can take moisture. When you water them, the newspaper will hold the majority of the water in but will get a little moist on the bottom. Now, it's time to be patient and let these little guys grow!


0 Comments
Forward>>

    Author

    Tracie
    Owner of Clutter Me Not
    I'm a Stay-At-Home Mom with a passion for Organization

    Amazing Yarn Tote

    RSS Feed

    Follow us on Twitter! 
    twitter.com/ClutterMeNot

    Archives

    March 2016
    February 2016
    January 2016
    May 2013
    April 2013
    March 2013

    Categories

    All
    Bulk Organizing
    Clever Container Products
    Did You Know?
    Laundry Room
    Organizing The Closet
    Organizing The Kitchen
    Storage Ideas
    Wednesday Wash-Up

    RSS Feed

Powered by Create your own unique website with customizable templates.